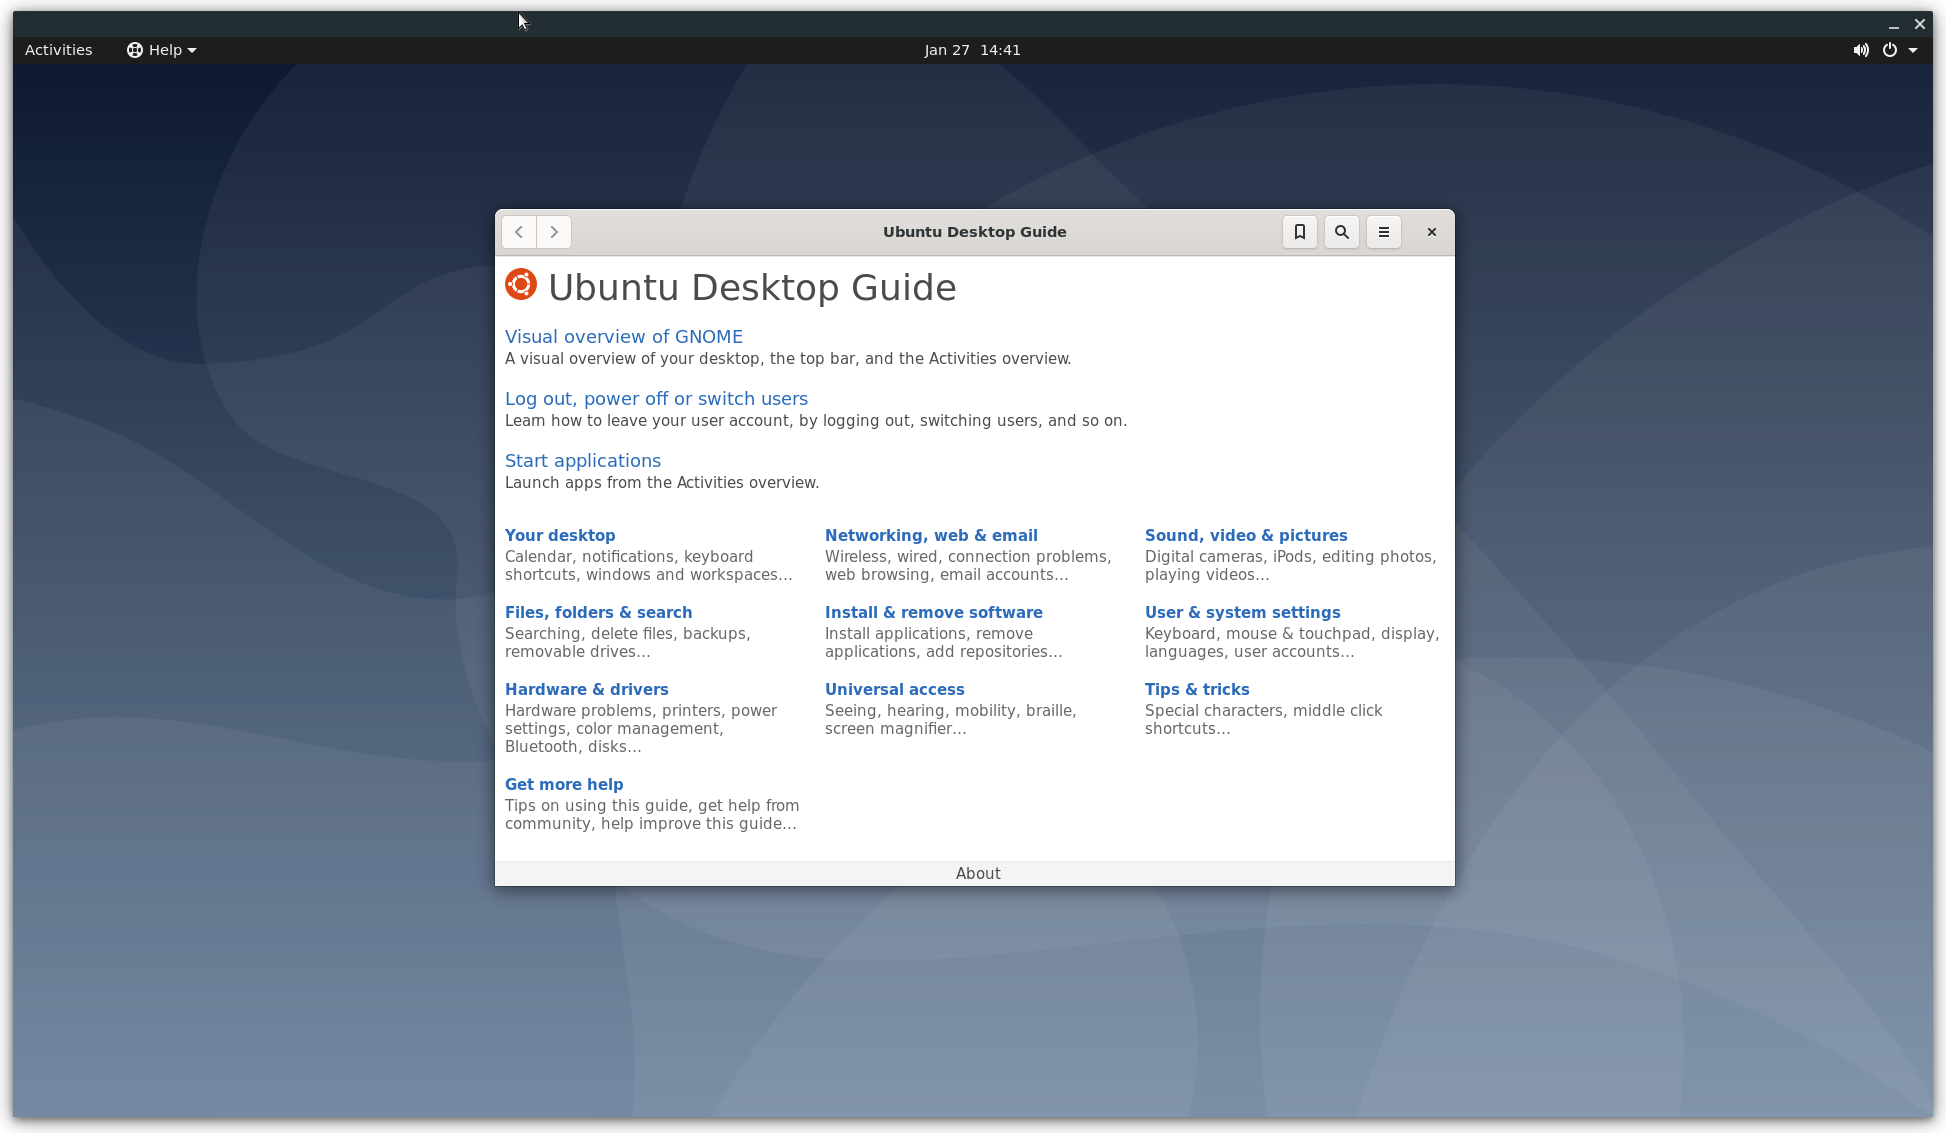
# Example Usage This section will explain how to use a prebuilt Ubuntu image as the guest OS. If you want to prepare a kernel and rootfs by yourself, please see [Building crosvm]. The example code for this guide is available in [tools/examples] ## Run a simple Guest OS (usig virt-builder) To run a VM with crosvm, we need two things: A kernel binary and a rootfs. You can [build those yourself](./custom_kernel_rootfs.md) or use prebuilt cloud/vm images that some linux distributions provide. ### Preparing the guest OS image One of the more convenient ways to customize these VM images is to use [virt-builder] from the `libguestfs-tools` package. ```bash {{#include ../../../../tools/examples/example_simple:build}} ``` ### Extract the Kernel (And initrd) Crosvm directly runs the kernel instead of using the bootloader. So we need to extract the kernel binary from the image. [virt-builder] has a tool for that: ```bash {{#include ../../../../tools/examples/example_simple:kernel}} ``` The kernel binary is going to be saved in the same directory. Note: Most distributions use an init ramdisk, which is extracted at the same time and needs to be passed to crosvm as well. ### Launch the VM With all the files in place, crosvm can be run: ```bash {{#include ../../../../tools/examples/example_simple:run}} ``` The full source for this example can be executed directly: ```bash ./tools/examples/example_simple ``` ## Add Networking Support Networking support is easiest set up with a TAP device on the host, which can be done with: ```bash ./tools/examples/setup_network ``` The script will create a TAP device called `crosvm_tap` and sets up routing. For details, see the instructions for [network devices](./advanced_usage.md#network-device). With the `crosvm_tap` in place we can use it when running crosvm: ```bash {{#include ../../../../tools/examples/example_network:run}} ``` To use the network device in the guest, we need to assign it a static IP address. In our example guest this can be done via a netplan config: ```yaml {{#include ../../../../tools/examples/guest/01-netcfg.yaml:5:}} ``` Which can be installed when building the VM image: ```bash {{#include ../../../../tools/examples/example_network:build}} ``` This also allows us to use SSH to access the VM. The script above will install your `~/.ssh/id_rsa.pub` into the VM, so you'll be able to SSH from the host to the guest with no password: ```bash ssh 192.168.10.2 ``` The full source for this example can be executed directly: ```bash ./tools/examples/example_network ``` ## Add GUI support First you'll want to add some desktop environment to the VM image: ```bash {{#include ../../../../tools/examples/example_desktop:build}} ``` Then you can use the `--gpu` argument to specify how gpu output of the VM should be handled. In this example we are using the virglrenderer backend and output into an X11 window on the host. ```bash {{#include ../../../../tools/examples/example_desktop:run}} ```  The full source for this example can be executed directly (Note, you may want to run [setup_networking](#add-networking-support) first): ```bash ./tools/examples/example_desktop ``` [building crosvm]: ../building_crosvm/index.md [tools/examples]: https://source.chromium.org/chromiumos/chromiumos/codesearch/+/main:src/platform/crosvm/tools/examples [virt-builder]: https://libguestfs.org/virt-builder.1.html